

 636
636
Creating tickets from the portal.
After you have created a user and are able to sign into the portal, we will now show you how to create a ticket.
To create tickets,
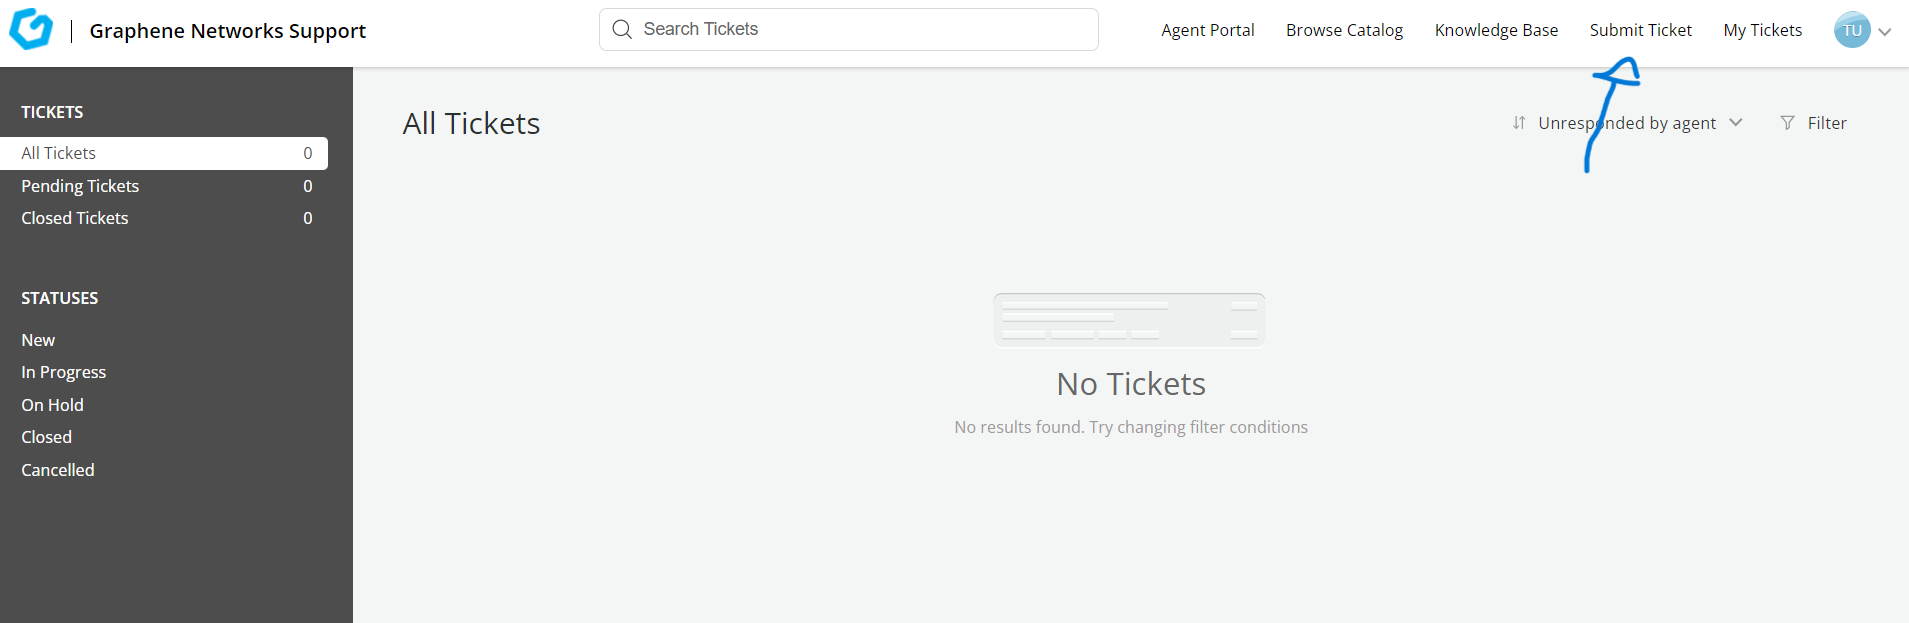
- After logging into the portal, you can click on the Submit ticket link on the header as indicated in the picture below:
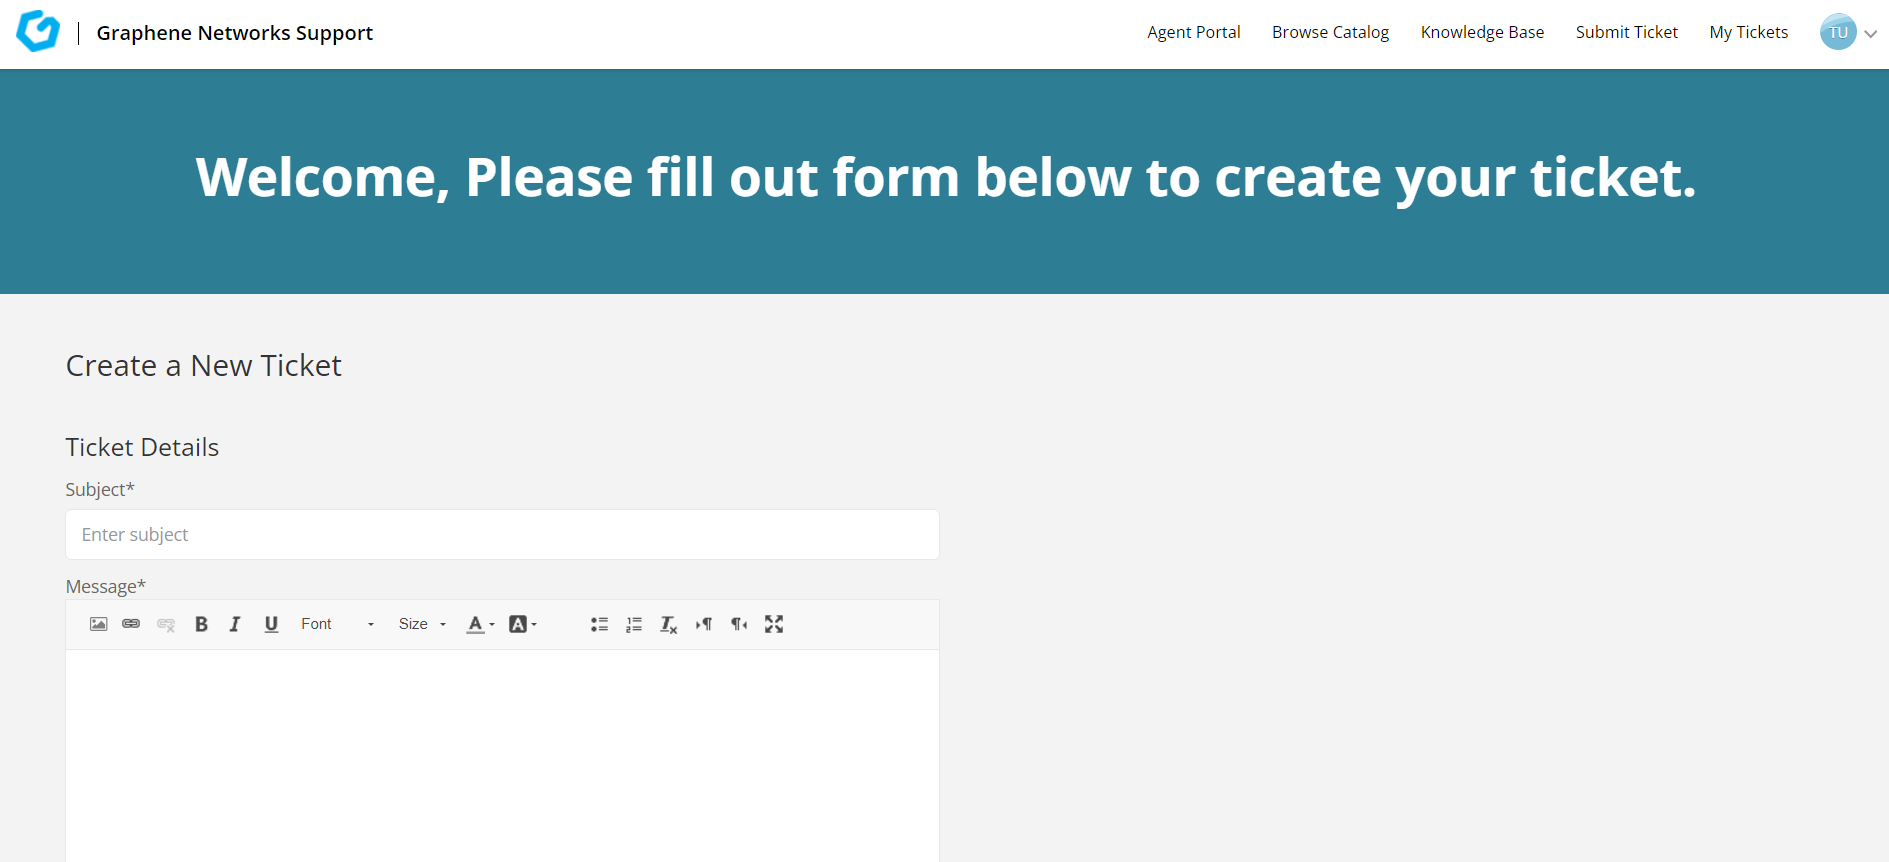
It will then take you to your ticket form where you can fill out information like their 'Subject', 'Message' and a 'Category' of the issue you are facing, along with the additional information such as 'Due Date', 'Priority' and "Additional Fields" about the issue. You can also attach files, pictures or anything associated with the ticket your submitting.
After adding details to your ticket that you submit, you can add a CC or BCC on the end for whomever you need to include in this issue.
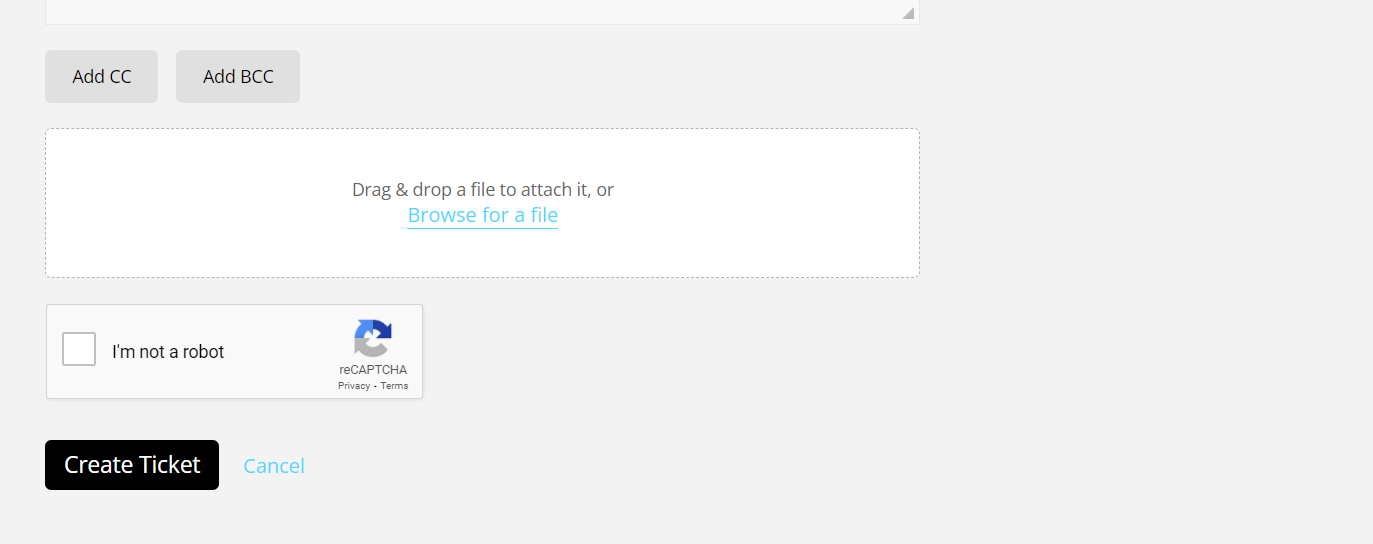
After finishing adding any necessary requirements to the ticket click on the create ticket icon. This will finish the ticket you just created and will show in your home page on the portal.
If there are any questions, comments or problems with this and you need help please send an email to [email protected].

